

Background:
The 4JJx platform is renowned for a heavy crank case pressure build up, especially under heavy boost/fuel modifications!
We have a solution where you remove the restrictive oil vapor valve,
fit the new AOS stack and route the intake plumbing to the new fitting!
Fitting time is typically about 5-15 minutes with basic tools (But allow 30 minutes for first time installs)
This is a highly suitable addition for CATCH CAN applications and also for stock plumbing if you are trying to relief the crank case pressure (although we suggest no catch can is used).
The reduction in oil coagulation in the air intake (of our own vehicles) over 600kms we have measured is over 80% and far exceeds catch cans we have tested (without the stress on the engine of excess back pressure!)
The measured crank case pressure that has been measured to be between 2 psi on low load and up to 15 psi on high load in our tests.
This means, more power, less chance of blowing seals and a cleaner intake / EGR system.
And the best thing, it is completely legal.
Parts are supplied AS-IS, with warranty for the supplied parts only! No chattel warranty is included, fitting is your responsibility.
How these work:
Using physics principles, we allow the passing of low vapour gas into the intake tract while decoalescing the heavier liquids from the blow-by gases the engine produces.
The most important parts of the kit use the factory bleed valve as a venturi for removing liquids back into the crankcase. For any left-over liquids that may have not had the opportunity to drain during the drive cycle, they will fall by gravity back into the crankcase. The kit maybe ugly, but it is functional and does not add additional pressure on the crank case vent to allow the gases to flow out of the motor.
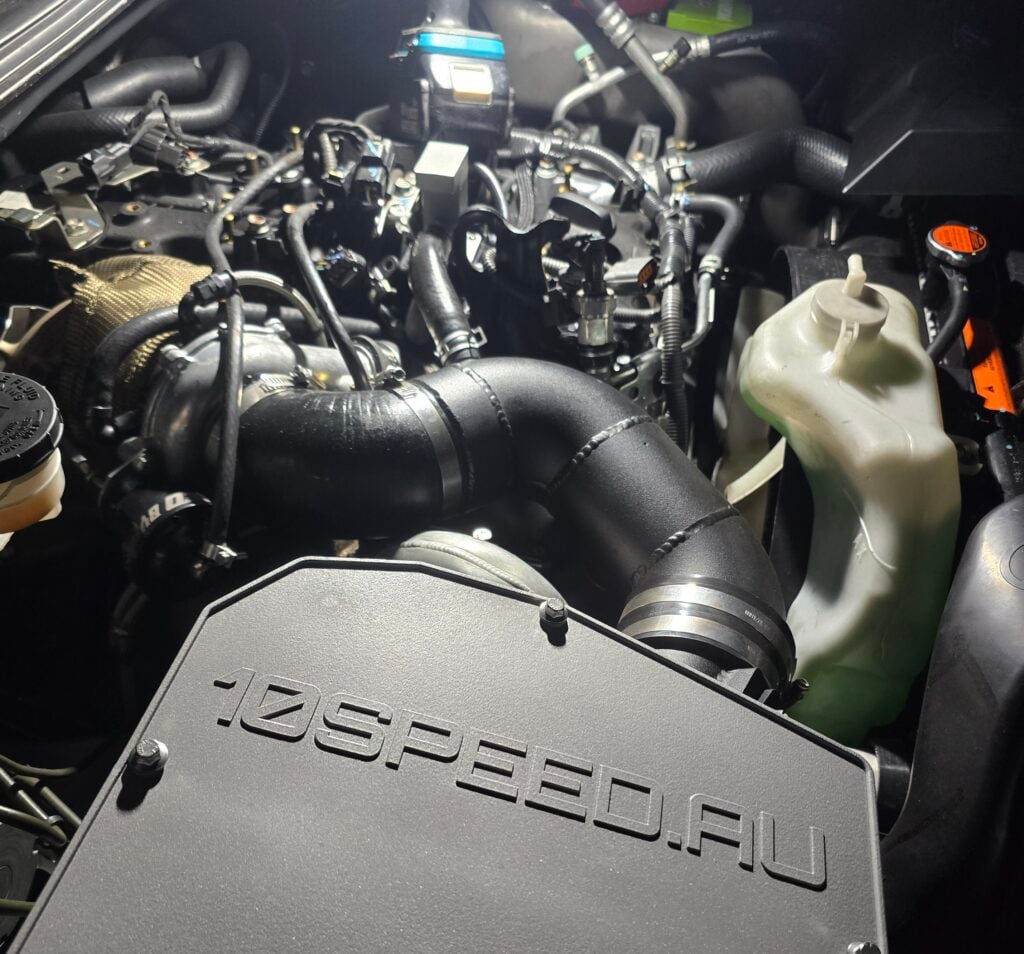
Notes on fitting:
V2 KITS (CURRENT KITS):
Required tools:
RTV, Phillips screw driver (like No.2 or 3 size), cleaning rags, brake cleaner, pliers.
Parts supplied:
The AOS refractionary column, short stub hose for the collector pipe, some metal cable ties (Not necessary in most cases)
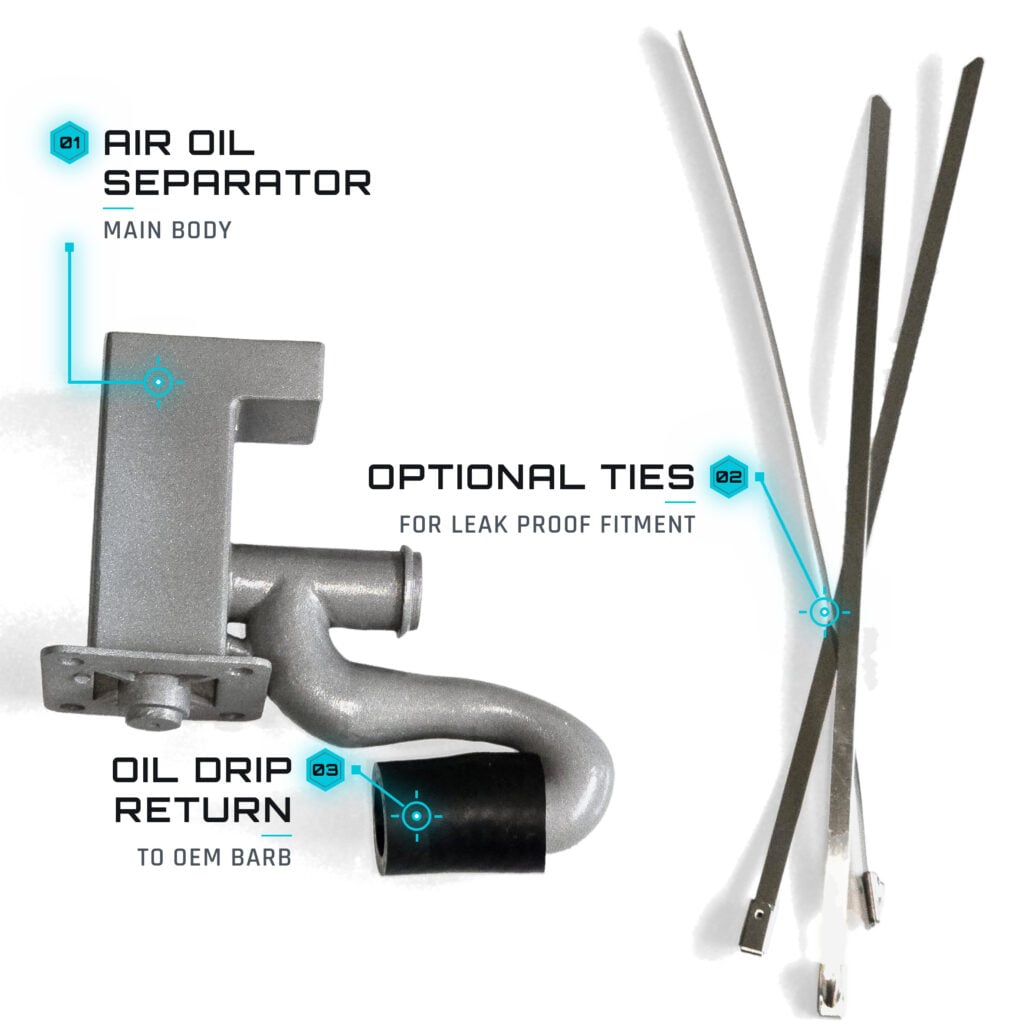
How to fit:
Remove oil vapour recovery hose from OEM crank case vent tube
Remove original plate from OEM oil vapour vent by undoing the 4 phillips screws (Careful not to drop them!)
Lift plate with screws being captive in the plate (recommended so you don’t loose the screws)
Remove OEM rubber gasket, spring for rubber gasket
Clean area and flanges thoroughly with brake cleaner and rags
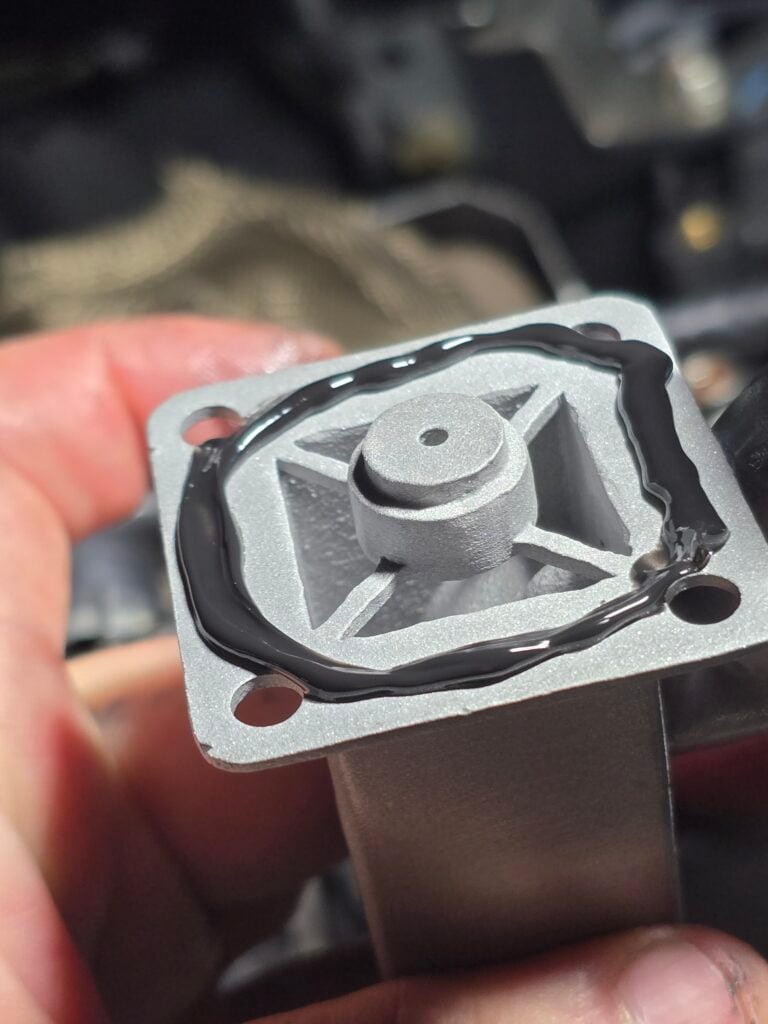
Apply small bead of RTV to the Boostec AOS flange (including screw area) (Minimum thickness 1.5mm)
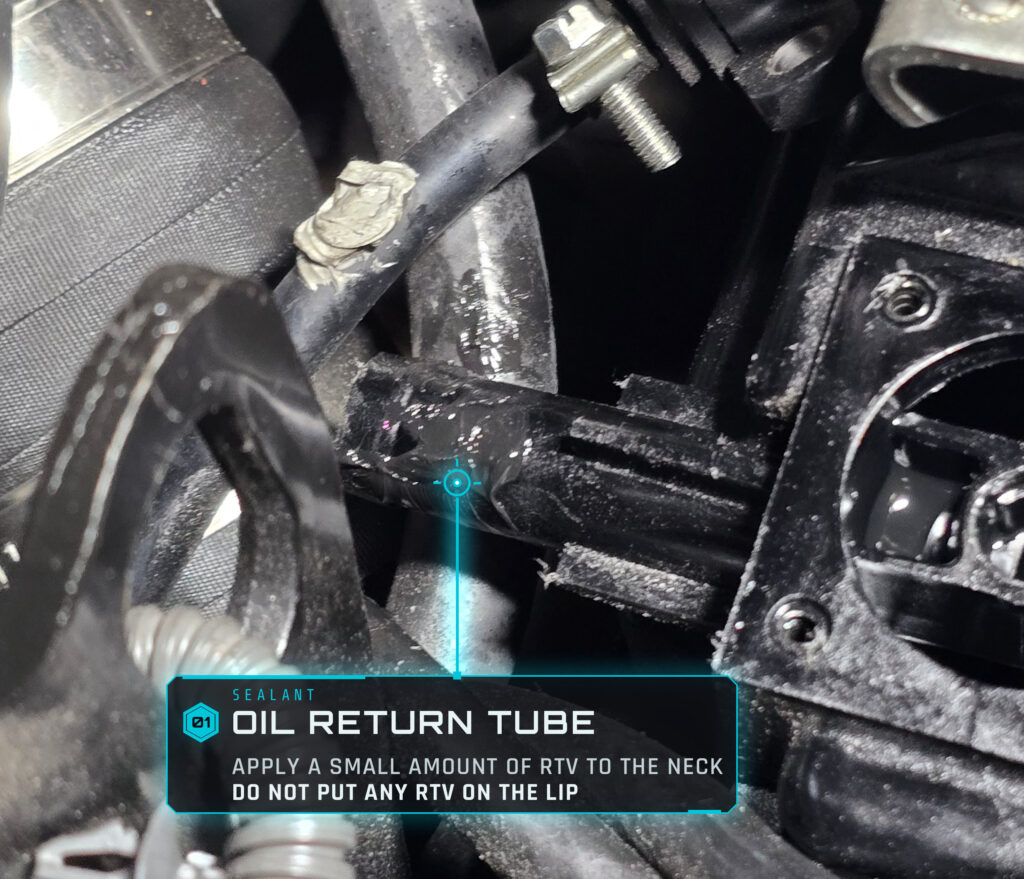
Apply small amount of RTV to neck of OEM black plastic vent (Do not apply to the lip)
Place Boostec AOS with supplied rubber hose attached over the OEM black plastic vent, working your way towards the engine with the AOS (May require small wiggling)
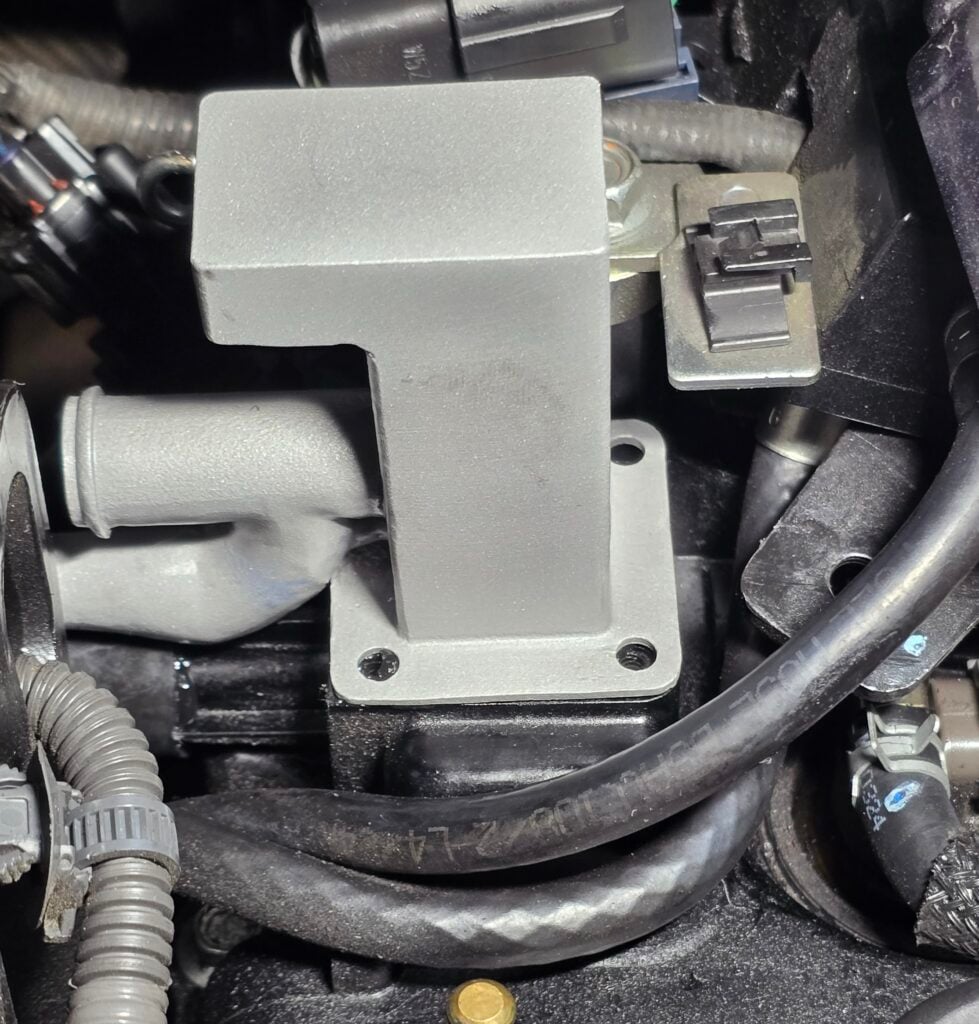
Once screw holes are lined up with OEM screw holes, you may clamp down the Boostec AOS with the original 4 screws. Again, be VERY careful with them. (Use a magentized screw driver ideally)
Clamp down evenly until rtv is visible all around the new AOS flange.
Always EVENLY screw down the AOS onto the flange in a X fashion.
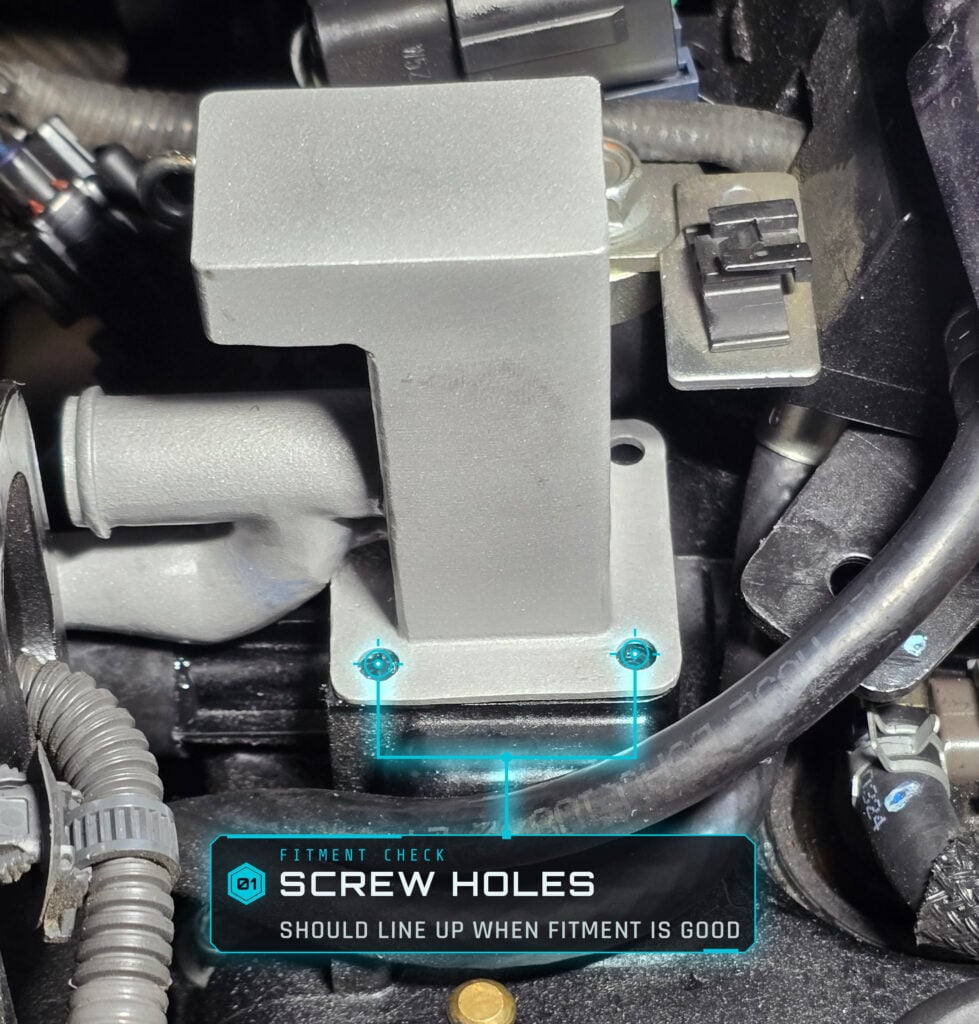
No NM rate is supplied as the screws used in OEM are into plastic. Only use enough torque to get a seal.
Do not over-tighten the screws into the plastic! They need to be nipped-up but do not strip the thread.
Now apply the original rubber hose from the original vent over the Boostec AOS and apply the OEM clamp over the neck of the rubber on the AOS.
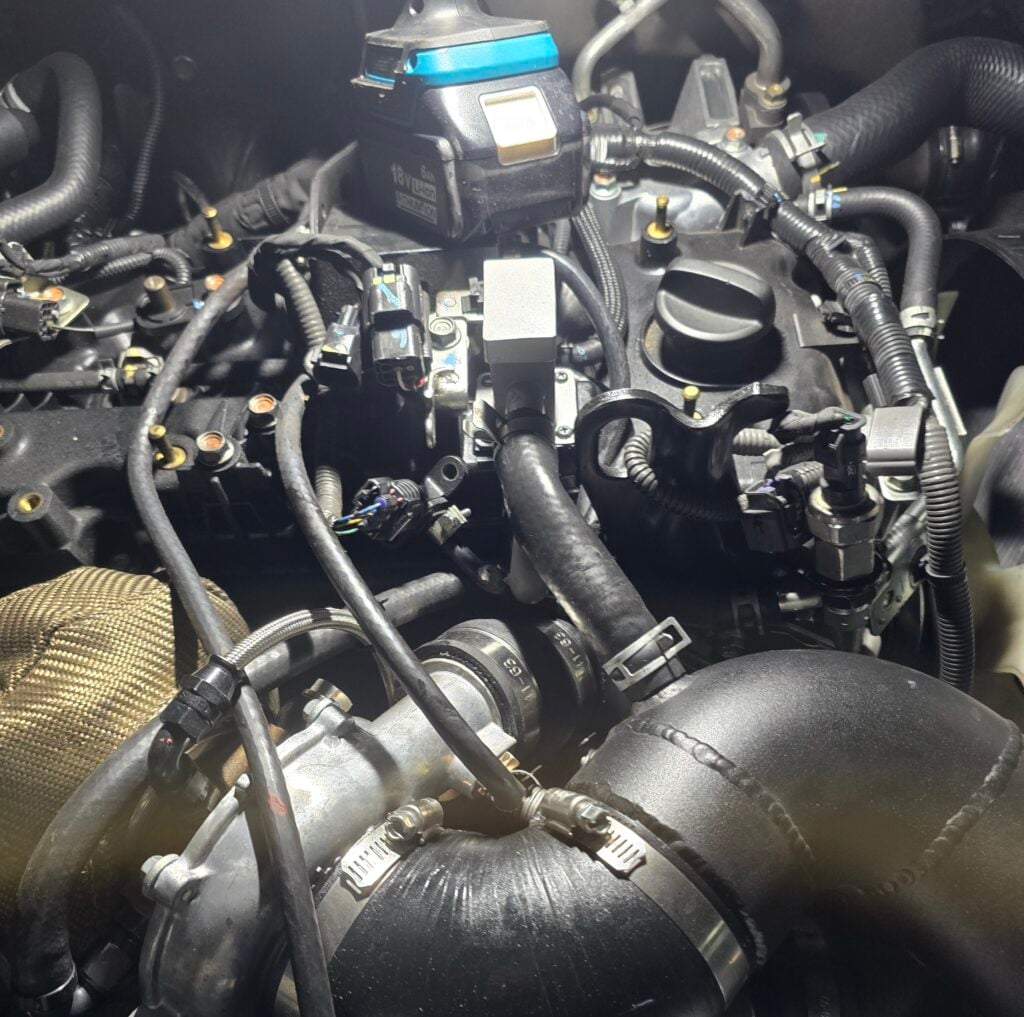
Check all is seated and allow the RTV to vulcanize overnight.
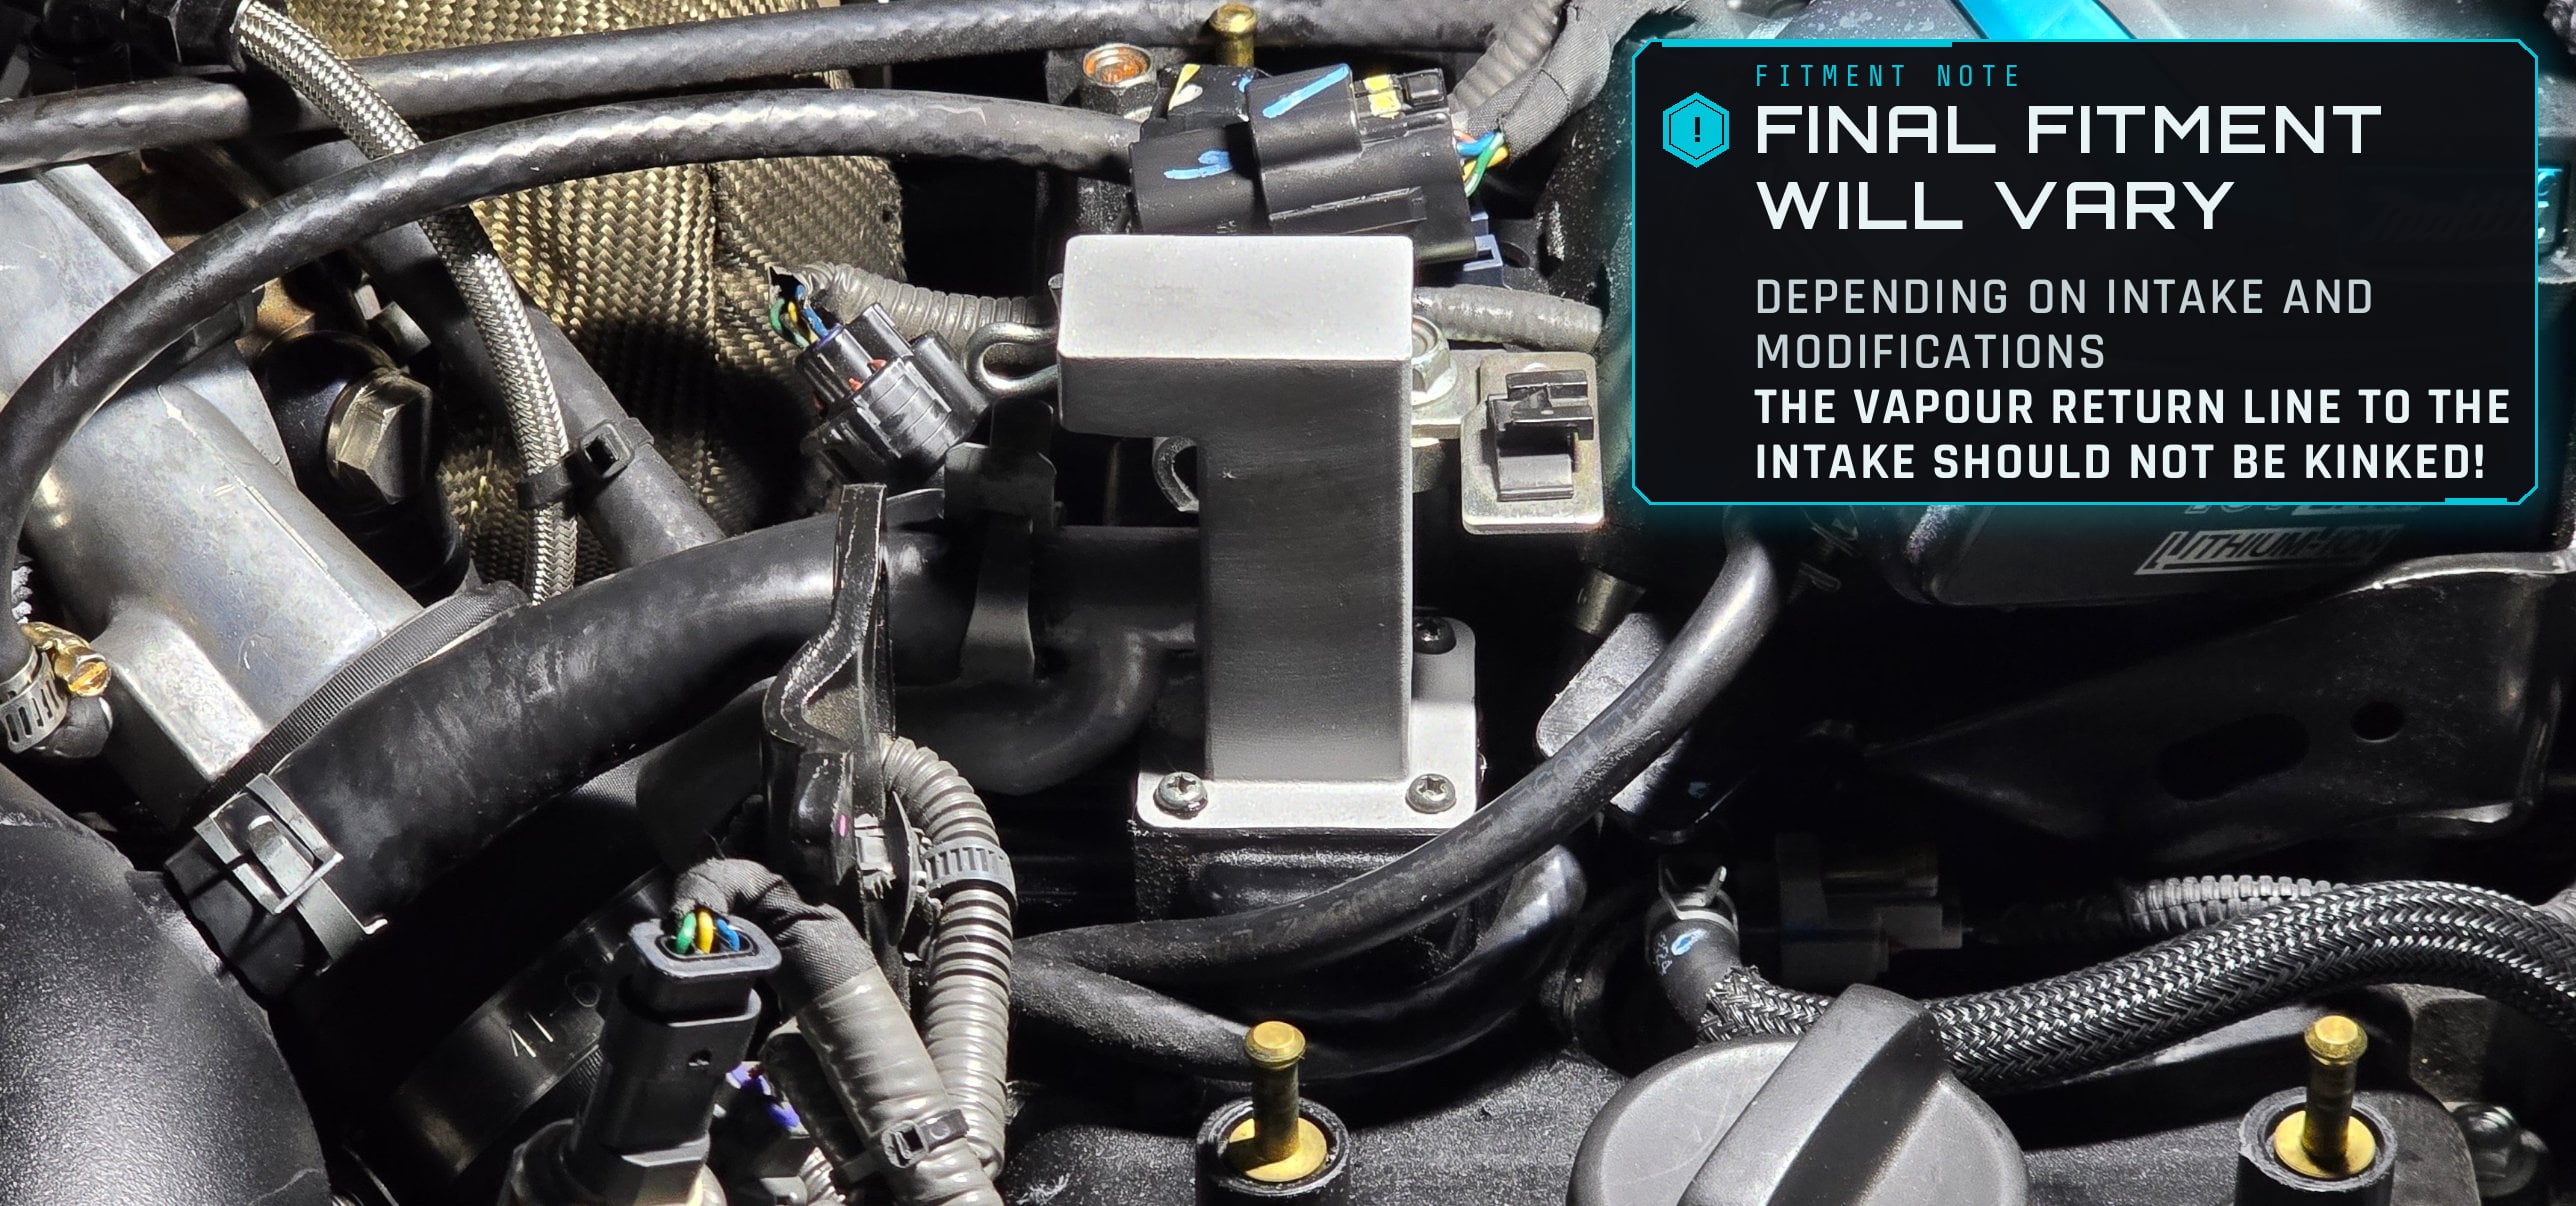
Please note:
None of the spring mechanism, rubber gasket, metal gasket plate or the top cover of the blow by plate are to be fitted at the same time as the supplied kit. Damage can occur to the factory parts if fitted in an unusual way.
Please note:
These kits are supplied “as-is”, it is your choice entirely to run them, fit them and have them working on the vehicle. We do not warrant any part other than the parts supplied and we do not carry chattel warranty for any connected parts. Use at your own risk. You agree to this by fitting the kit.
V1 KITS (No longer supplied – notes for reference only):
The supplied O-ring seal is usually a perfect fit, in the case you cannot get a perfect seal for the original pop-up vent tube, a second o-ring is supplied. In the extremely unlikely event the installer cannot get a long term seal, the original crank case vent tube can be completely blocked when the Boostec AOS is installed (Such as with a barb cap or filling it with RTV if you are in a pinch)
When fitting, you will need to trim the original gasket to remove the solid button center. Be mindful that a spring is also present in the OEM vent, ensure it is removed entirely from the engine (Do not loose it in the crank case vent!)
Always EVENLY screw down the AOS onto the gasket in X fashion.
No NM rate is supplied as the screws used in OEM are into plastic. Only use enough torque to get a seal.
This item is fitted at your own risk. As the fitter you take full responsibility for the item and its use. No liability for the parts, use or fitting is accepted by us.
From 18/SEP/2026 – All AOS kits come with a bung for the OEM outlet pipe aswell. (Not necessary, but will stop any dribbles from original OEM outlet (disused) long term.)
